The same feature is available for Google Contacts as well. Google Contacts now comes built-in on Android smartphones and is the default contact app. If you have many contacts saved on your smartphone, creating labels in Google Contacts could help you greatly. Like Gmail, you can create labels in Google Contacts for better sorting and quicker access to your most used contacts. You can also create labels to clear the phonebook mess and keep it simple and clean.
Create and Use Labels in Google Contacts
Below, we have shared a step-by-step guide on how to create labels in Google Contacts. You can use the web version of Google Contacts or the mobile app to create labels. Hence, if you want to create labels in Google Contacts, keep reading the guide.
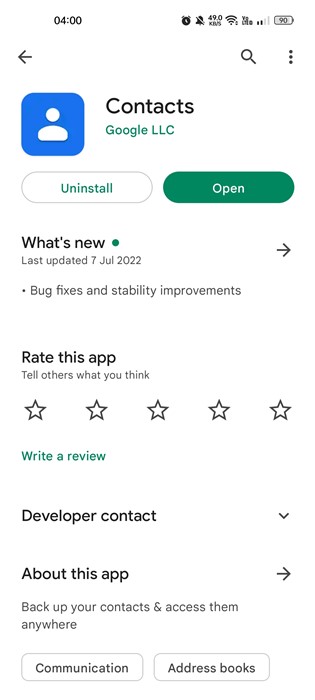
First, if your phone doesn’t have Google Contacts installed, install it from the Google Play Store.
Once installed, open the Google Contacts app from your Android App drawer.
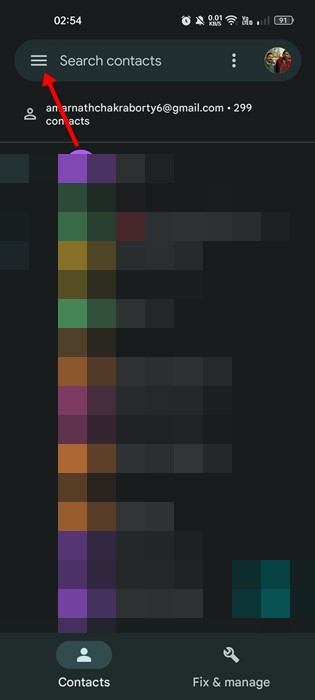
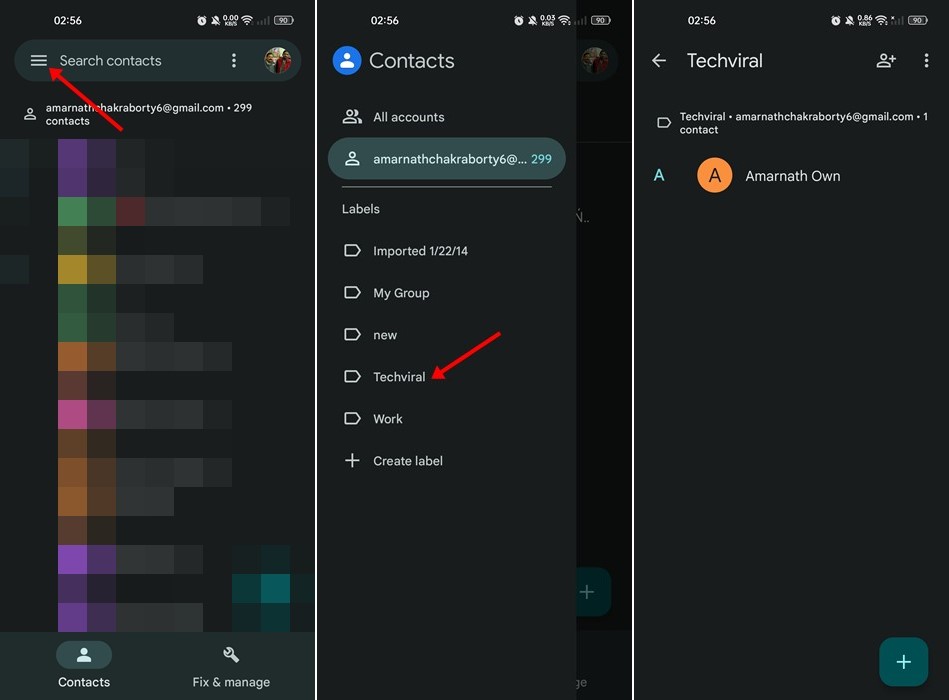
On Google Contacts, tap on the hamburger menu at the top-left corner.
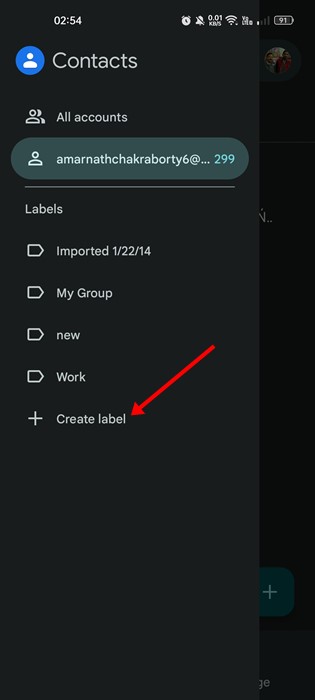
From the menu that appears, click on the ‘+ Create label’ option.
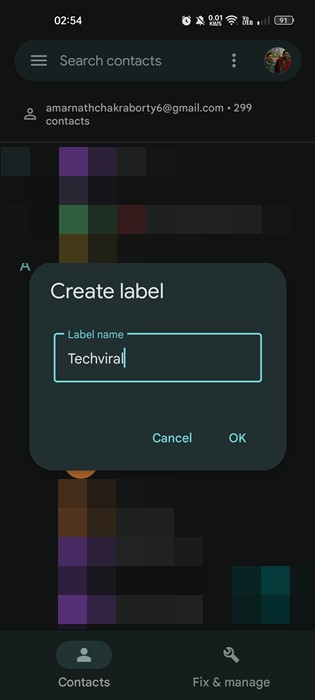
You will be asked to enter a name for the new label. Enter the name and tap on the Ok button.
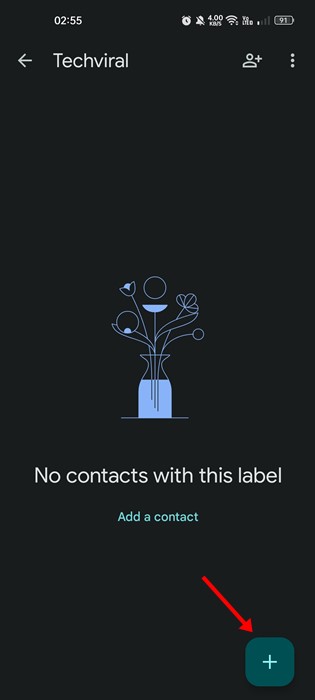
You will be asked to add contacts to the new label. Tap on the (+) button at the bottom right corner.
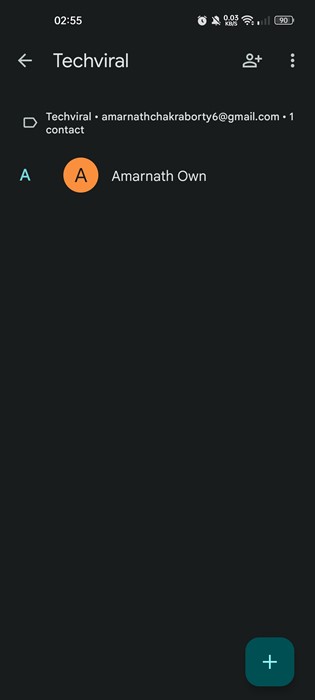
On the Choose a contact screen, select the contacts you want to add to the label.
Once done, this will add your selected contacts to the label.
To access the newly created label, tap on the hamburger menu and select the label.
That’s it! This is how you can create labels in the Google Contacts app for Android. You can create as many labels as you want to for better sorting and quicker access to your contacts. You can also utilize the same feature on your Gmail account; for that, follow our guide – How to Create Labels in Gmail to Organize your Emails. So, this guide is about creating and using labels in Google Contacts for better sorting and quicker access to contacts. If you need more help creating labels in the Google Contacts app, let us know in the comments below.
Δ
