Although Hyper-V is a great feature, it’s not easy to set up. Users need to go through a lengthy process to configure & use Hyper-V on a Windows 11 operating system. Therefore, if you are looking for an easy way to test apps and files in a virtual environment, you need to use Windows Sandbox. Instead of configuring Virtual Machine in Hyper-V, Windows 11 users can rely on the Windows Sandbox feature to test their files. So, if you are interested in setting up Windows sandbox on Windows 11, you are reading the right guide.
Steps to Enable Windows Sandbox on Windows 11
In this article, we will share a step-by-step guide on setting up and using Windows Sandbox on Windows 11. Let’s check out. Important: The Windows Sandbox feature is available only on Windows 11 Pro, Education, and Enterprise edition. Also, you need to enable Virtualization to use the feature.
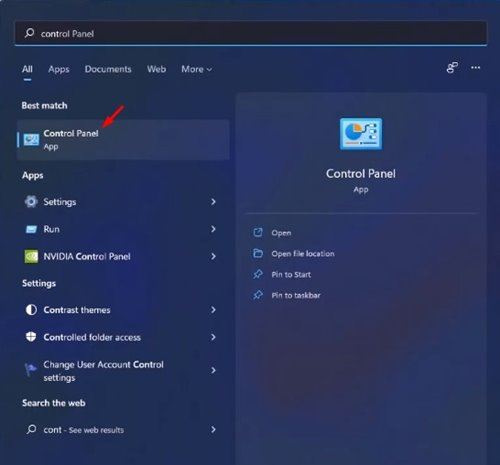
First, open the Windows 11 search and type in Control Panel. Then, open the Control Panel app from the list.
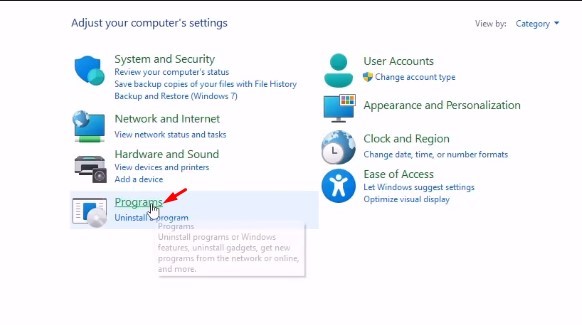
On the Control Panel, click on the Programs option as shown below.
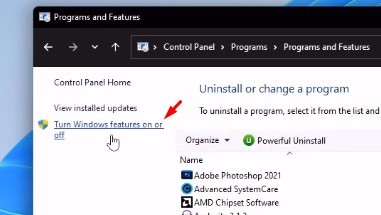
On the Programs, click on the Programs and Features option.
On the left pane, click on the Turn Windows features on or off link.
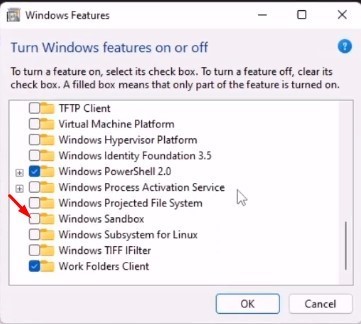
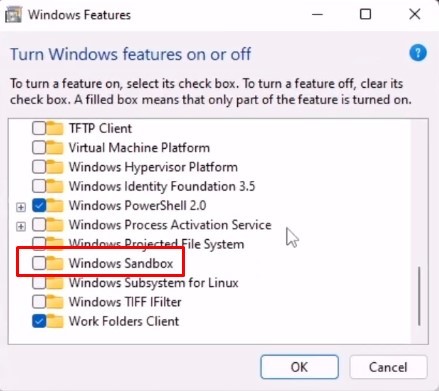
On the next pop-up, scroll down and enable the Windows Sandbox option. Once done, click on the Ok button.
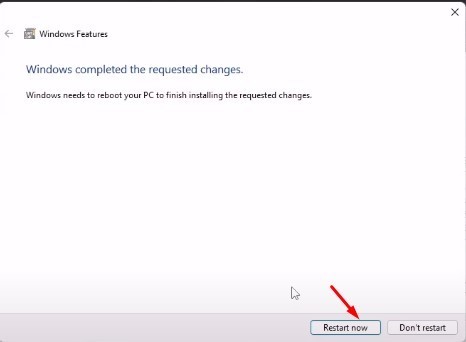
Windows 11 will now enable the feature. The process will require a restart; click on the Restart now button to complete the installation process.
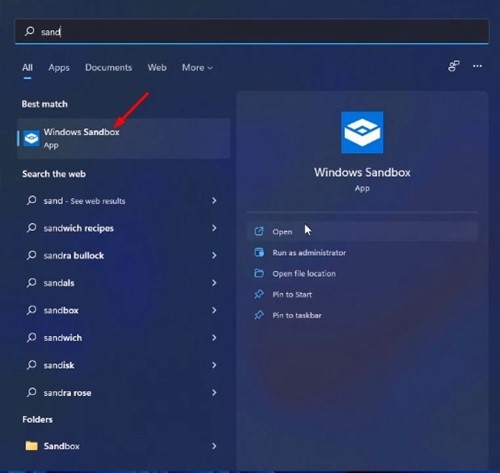
After the restart, open Windows 11 search, and type in Windows Sandbox. Click on the Windows Sandbox app on the list.
Now, you will see a lightweight and secure version of Windows 11. It will look like a virtual machine running Windows 11. You can now test your apps & files.
How to Close Windows Sandbox
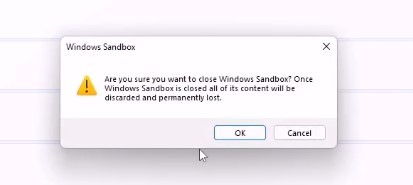
After checking and testing your apps, you need to close the Windows Sandbox environment. For that, you need to close the Sandbox Window. If you close the Sandbox window, all your content will be discarded and permanently lost. On the confirmation prompt, click on the ‘Ok‘ button.
How to Disable Windows Sandbox
Disabling Windows Sandbox is an easy process; for that, you need to follow some of the simple steps shared below.
First, press the Windows Key + R button to open the RUN dialog box. Type in optionalfeatures.exe and press Enter.
On the Windows Feature pop-up, uncheck the Windows Sandbox option and click on the Ok button.
On the next pop-up, click on the Restart now button. That’s it! You are done. This is how you can disable Windows Sandbox on Windows 11. Setting up Windows Sandbox on Windows 11 is easy compared to Hyper-V. I hope this article helped you! Please share it with your friends also. If you have any doubts related to this, let us know in the comment box below.
Δ