At times, you might want to know the MAC address of your Windows 11 PC. The Mac address is given to a network adapter when it’s created, and it’s used for identifying network devices on a local scale. Mac address, once assigned, can’t be changed. There could be various reasons you want to find your Mac address: Perhaps, you want to filter specific devices out of your network. Maybe you want to know the MAC Address to diagnose particular network problems.
5 Best Methods to Find MAC Address in Windows 11
Whatever might be why it’s pretty easy to find your MAC address on Windows 11 computer. And in this article, we have shared a few best ways to find your MAC address in Windows 11. Let’s get started.
1. Find Mac Address via Settings App
We will use the Windows 11 Settings app to find the MAC Address in this method. Here are some of the simple steps you need to follow.
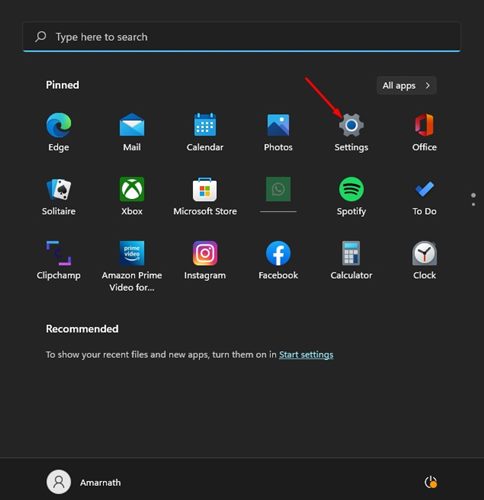
First of all, click on the Windows 11 Start button and select Settings.
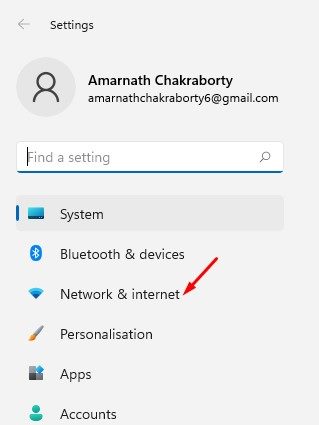
On the Settings app, click on the Network & Internet section on the left pane.
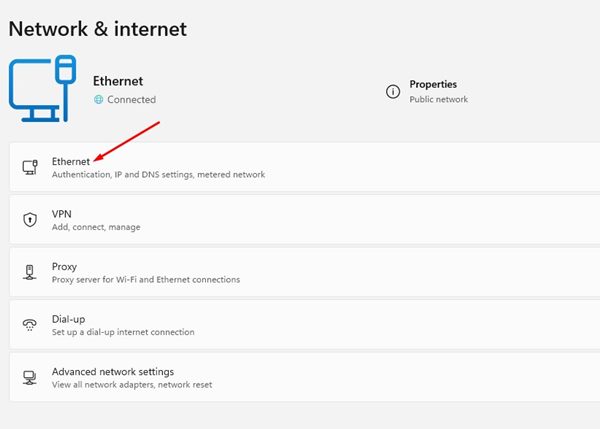
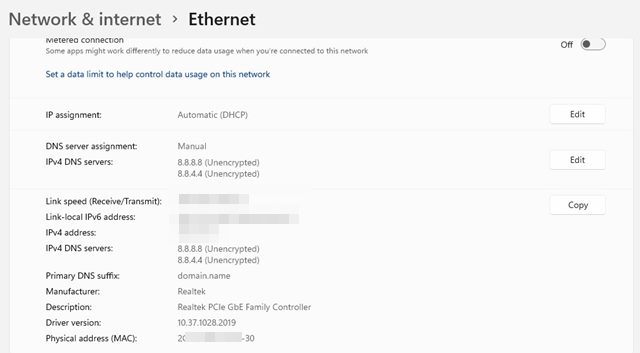
On the right pane, click on the WiFi or Ethernet, whatever means of connection you are using.
On the next screen, click on the Hardware Properties. Under the Hardware properties, scroll down and look at the Physical Address (MAC). This will list your MAC address.
2. Find MAC Address in Windows 11 via System Information
In this method, we will utilize the System Information app of Windows 11 to find the MAC address. Here are some of the simple steps you need to follow.
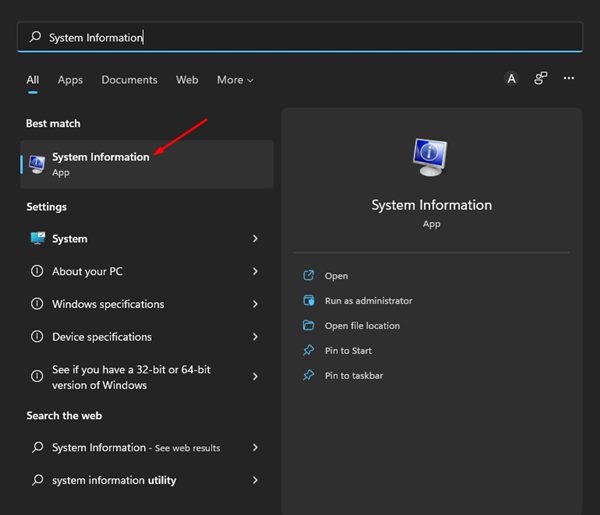
First, click on the Windows 11 search and type in System Information. Next, open the System Information app from the list.
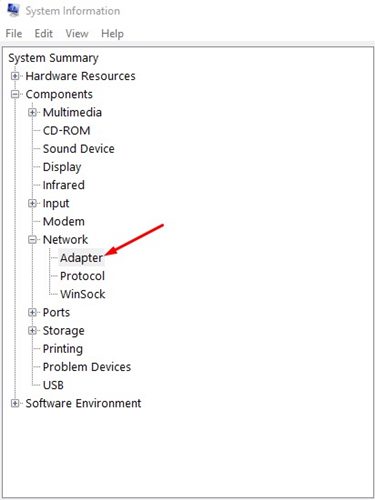
On the System information, expand the Network option and select Adapter.
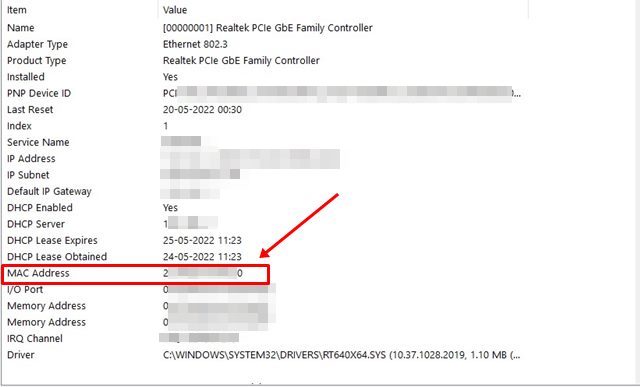
On the right pane, find the MAC address. This will show you the MAC address of your Windows 11 PC.
3. Find MAC Address in Windows 11 via Control Panel
We will use the Control Panel utility to find the MAC address of our Windows 11 PC. Here are some of the simple steps you need to follow.
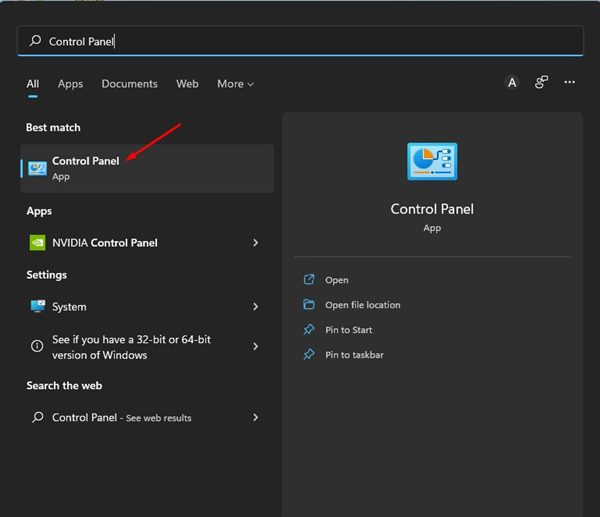
First, click on the Windows 11 search and type in Control Panel.
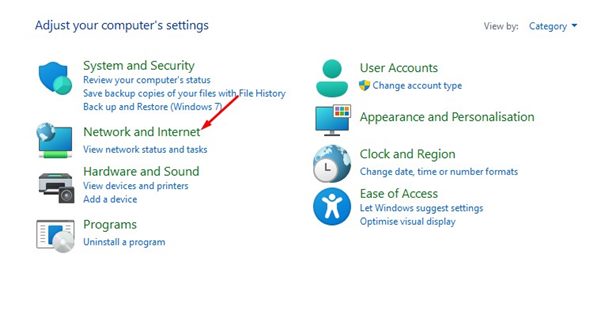
On the Control Panel, click on the Network and Internet.
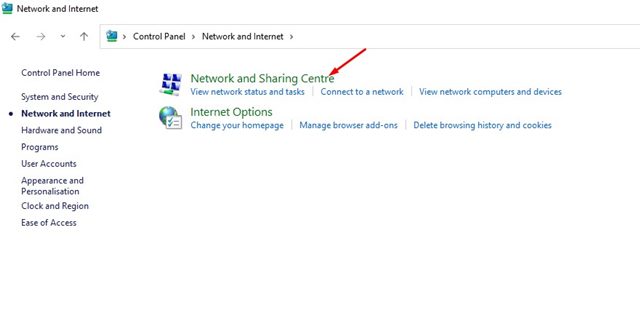
Next, on the Network and Internet page, click on the Network and Sharing Center.
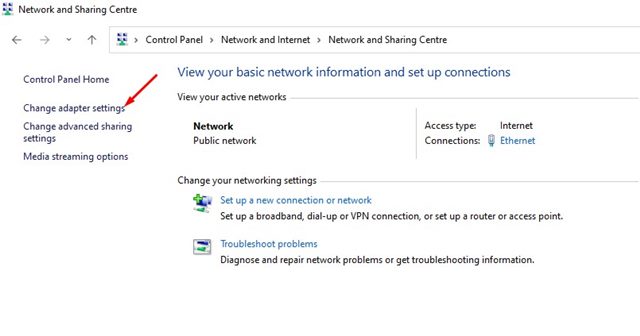
On the left, click on the Change adapter settings.
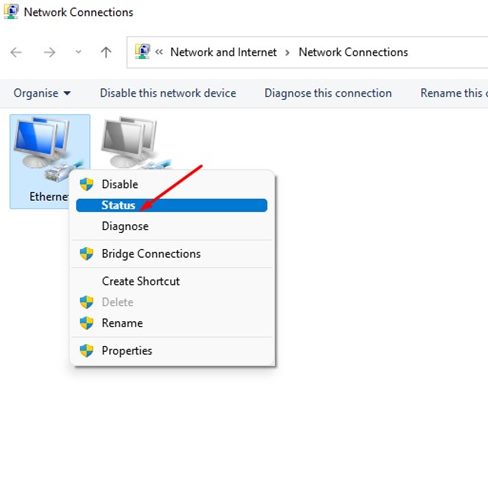
Now, right-click on the connected network adapter and select Status.
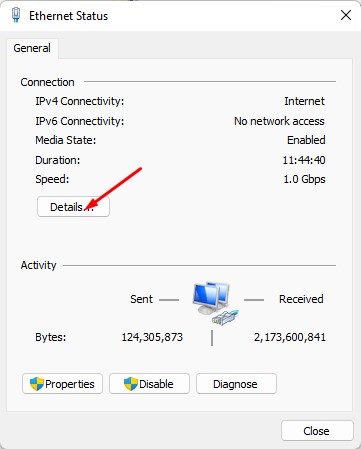
On the Status dialog box, click on the Details option.
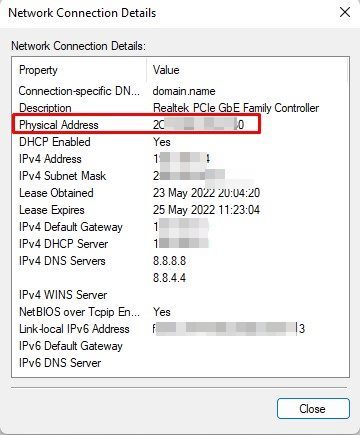
On the Network Connection Details dialog box, check the Physical Address. This is your MAC address.
4. Find MAC Address in Windows 11 via PowerShell
Windows 11 also allows you to find MAC Addresses via PowerShell. Hence, in this method, we will be using the PowerShell utility to find the PC’s MAC Address. Here’s what you need to do.
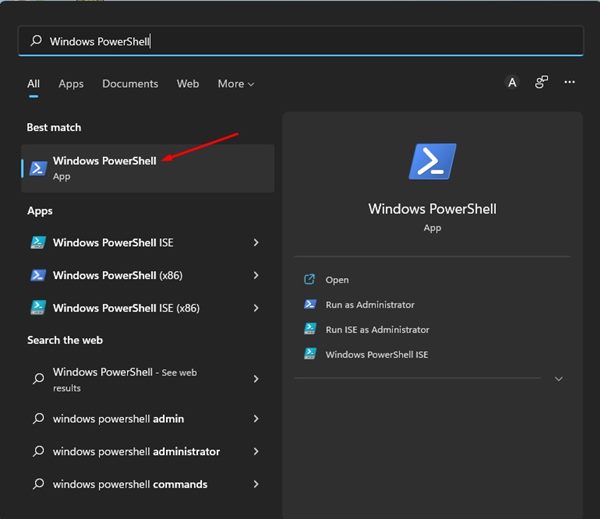
First, click on the Windows 11 search and type in Windows PowerShell. Next, open the Windows PowerShell app from the list.
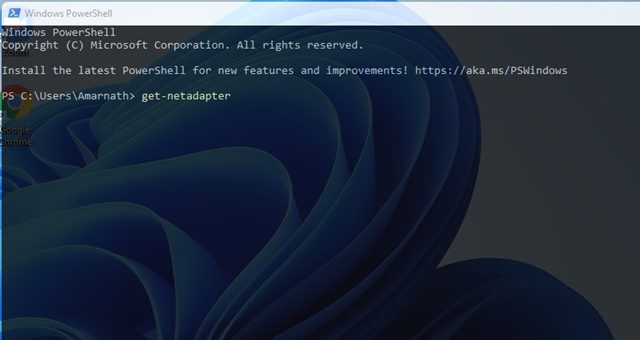
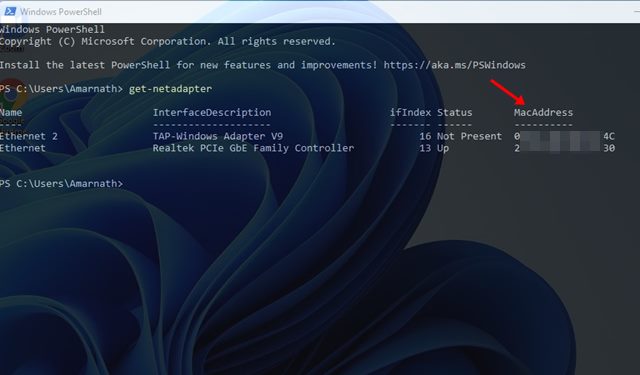
On the Powershell WIndow, execute the command shared below and hit the Enter button. get-netadapter
That’s it! Now the PowerShell utility will display the MAC address.
5. Find MAC Address in Windows 11 via Command Prompt
You can utilize the Command Prompt to find your Windows 11’s MAC address like the PowerShell utility. Here are some of the simple steps you need to follow.
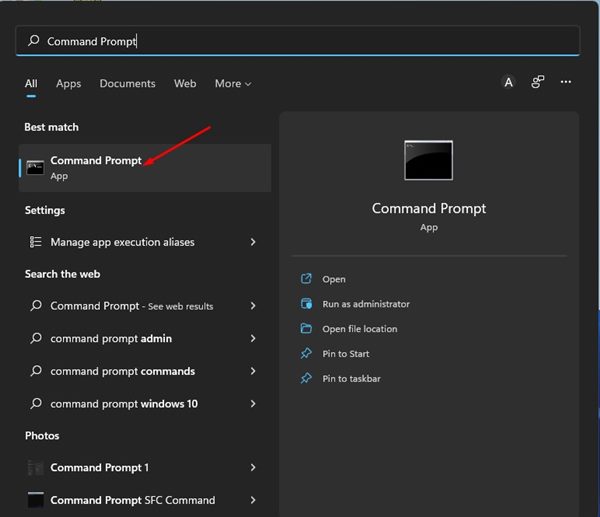
First, click on the Windows 11 search and type in Command Prompt. Next, open the Command Prompt utility from the list.
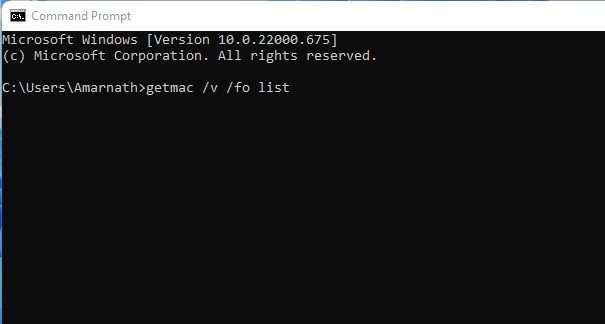
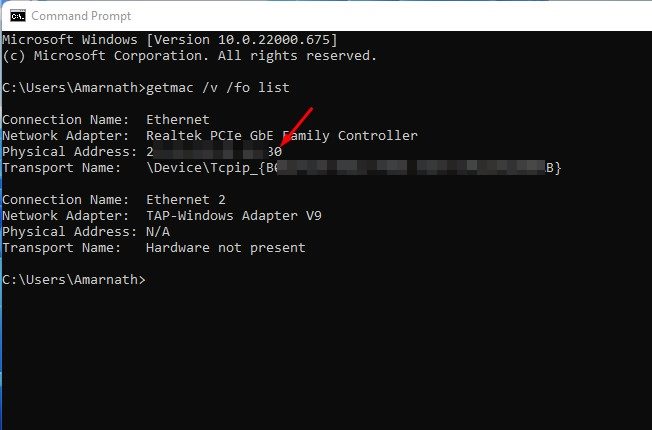
On the Command Prompt, execute the command: getmac /v /fo list
Command Prompt will now return with your network adapter details. You need to check the Physical Address to know the MAC address.
So, that’s all about how to find the MAC address on Windows 11 PC. Apart from the MAC address, you can even see the IP Address in your Windows 11. If you need any more help finding MAC address in Windows 11, let us know.
Δ
