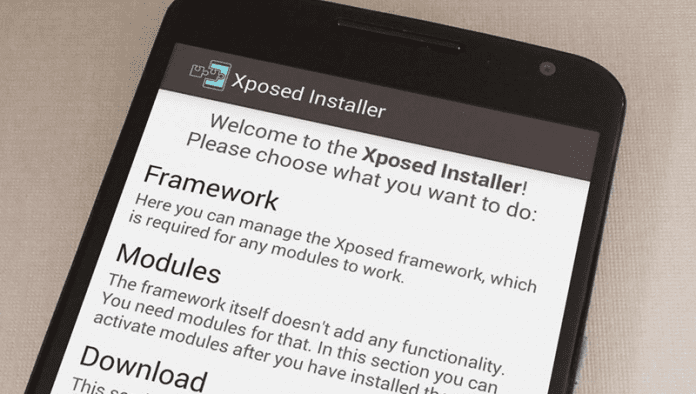
Xposed Framework is the most powerful tool Android users must try after rooting their Android. Xposed Framework can be better compared to a Cydia for iOS, with the help of which you can add many new features to your device. The Xposed installer provides a platform to run many cool tweaks on your Android device. Until now, we have discussed many tweaks you can make after installing Xposed Framework. So look at the complete guide for installing Xposed Framework on your Android. Also Read: How to Launch Favourite Apps From Android Lockscreen
How To Install Xposed Framework In Android
The method is very simple, and you only need a rooted Android that will allow you to install the apk of the Xposed Framework app with a super user grant. So follow up the steps below to proceed. Also Read: 4 things You Need To Do Before And After The Installation of Android Updates
Modules That Will Work After Installing Xposed Framework
Burnt Toast CrappaLinks Play Store Changelog XXSID Indicator Greenify Amplify YouTube adaway Xposed GEL Settings (beta) Cool tool NotifyClean Min min guard BootManager ReceiverStop EnhancedToast Force immersive mode Swype Tweaks Swipeback 2 Spotify skip Lollistat Flat Style Keyboard Force Fast Scroll Flat style colored bars Materialised xposed (working for some) App settings Lockscreen music art remover NetStrenght LWInRecents Screen Filter BubbleUPNP’s Audio cast Snapcolors 3.4.12
Partially working modules:
Gravity box (very limited) XBridge Boot manager (working for some)
Also Read: How to Hack WiFi Password On Android (Without Root)
1) Install Xposed Framework On Android By Flashing Zip
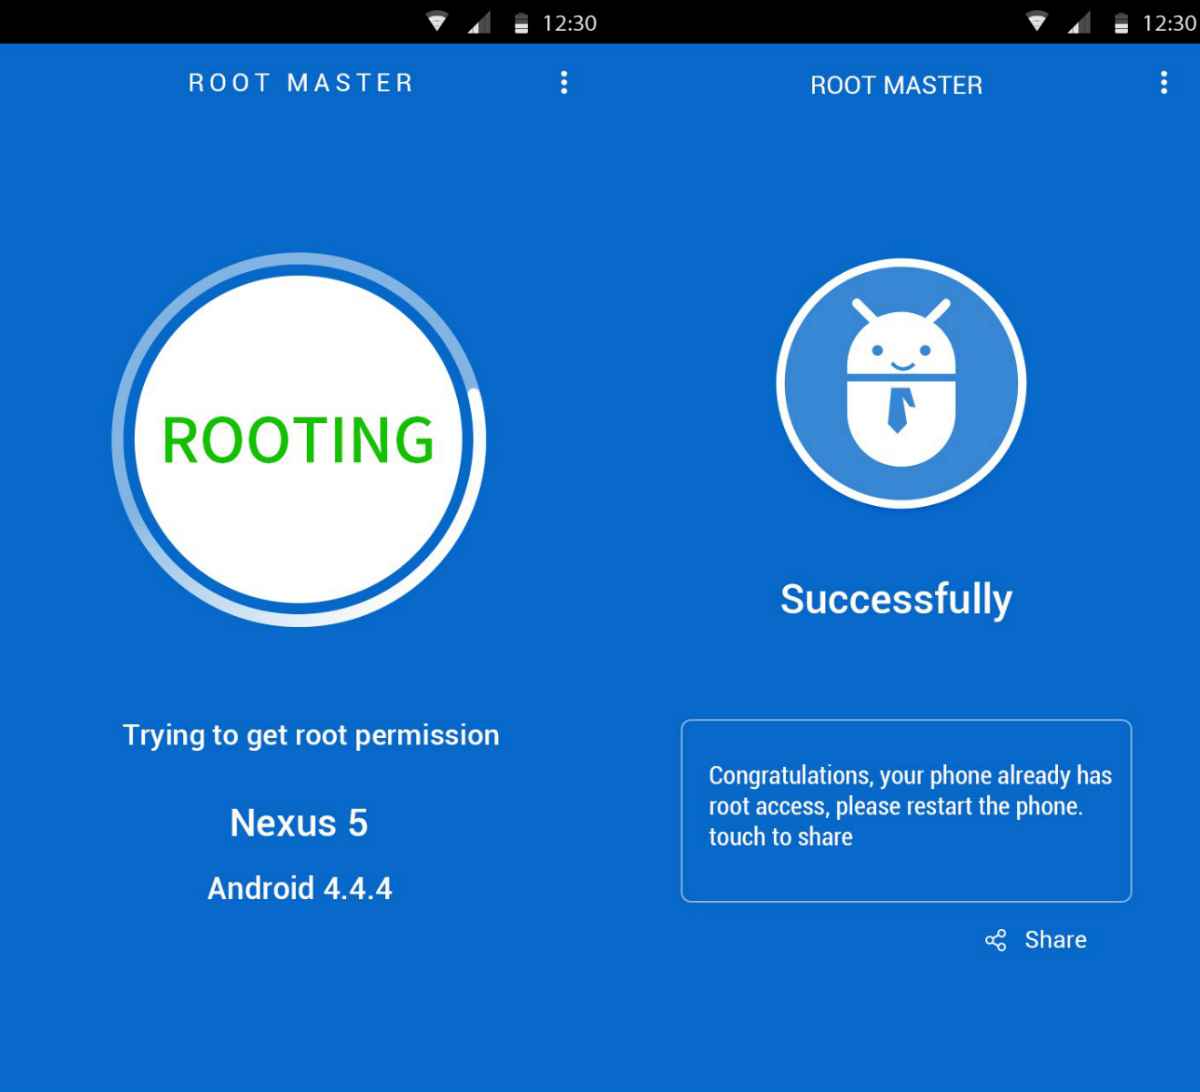
First, you need a rooted android, and you can follow our guide Easily root your device with Root Master.
You need to check your CPU architecture to get the perfect Xposed framework for you, and for this, you will use the app Hardware Info.
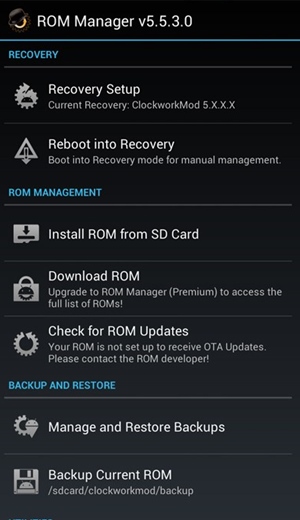
Now, you need to get the custom recovery in your android, and for that, you will need to search your device’s respective custom recovery, and you can flash it using the app ROM Manager.
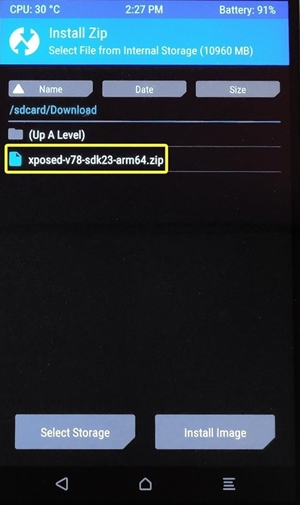
Now, you have to select the zip file of the Xposed framework according to your CPU architecture, and you can get the Xposed Framework zip from HERE.
Now, flash this zip file through your Android recovery. And when the zip is being flashed, then simply reboot your device.
Now you will have Xposed Installer installed on your device, and you can try many cool tweaks on your Android. Some of the cool tweaks we discussed below you can try. If the above method doesn’t work for you or you face any compatibility issues, then you can go for the below method. Also Read: How To Turn your Android Into A Portable Scanner
2) Installing Xposed Installer Directly From Apk
First of all, you need to download the latest Xposed Framework installer app.
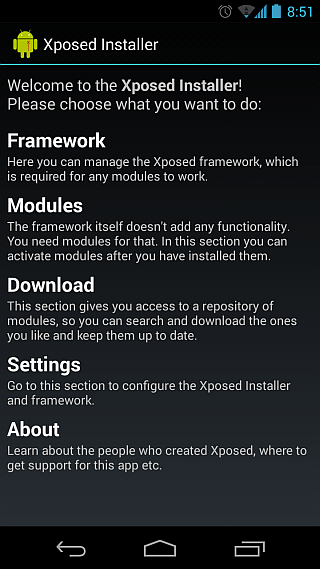
Now install the Xposed Installer app from your app drawer. Once opened, you will see the screen like below. Select Framework.
You need to tap on “Install/Update” button.
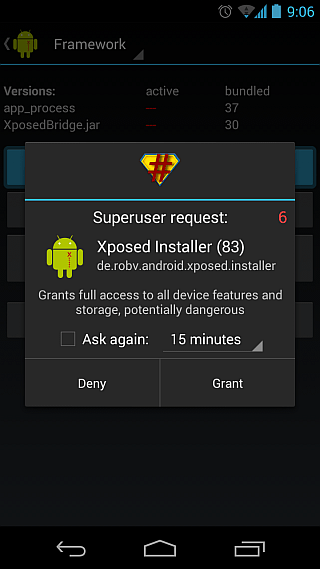
You might have to wait for a few seconds until you see the Superuser request. Simply Grant it.
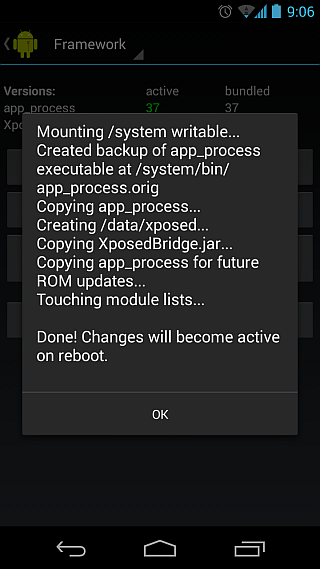
The framework will install by itself, and once done, you will see the screen like below. Simply tap on OK.
Now, reboot your phone. That’s it! You are done. Also Read: How To Unlock Windows Computer from Android/iPhone With this, you can easily install a cool tweaker on your Android device and add many new features. So try this and have fun by adding all new features to your device. Hope you like this cool solution, do share it with others too. Leave a comment below if you have any related queries about this.
Δ
