How to Set Up and Get Started with Raspberry Pi 3
In the Box (Raspberry Pi 3): Safety Guide, Quick Start Guide in different languages, Raspberry Pi 3 Model B. And note that you cannot just do anything with the Raspberry Pi 3 unless you attach up the additional accessories to it
Get up the below-stated accessories for the Raspberry Pi 3 which you will require:
- Power Adapter: Get the Raspberry power Adapter with the specifications as 5.1 Volts and 2.5 Ampere output.
- Wireless Keyboard With TrackPad: This is the another very important thing that you will need, we suggest you use the wireless miniature style keyboard with inbuilt trackpad and it’s own power supply requirement. You can although use up the USB keyboard too but this will hence add more load to the Raspberry Pi 3.
- Touch Screen: The another must have accessory for the Pi 3 is the Touch screen which will show you all your content and hence you can actually use the features and the functions. You can go for the 7 inches Raspberry Pi touchscreen display that is suitable for almost every Raspberry devices. The LCD comes with the DSI Ribbon cable, adapter board and the screw attachment to connect the Raspberry Pi to the board of the LCD. This hence helps to convert up the Pi into a desktop or laptop like structure which can run up the different OS and it also supports the Raspbian OS. You should assemble up the Touch screen to the Raspberry device by yourself and if you don’t know about the whole process of attaching cables etc then go for the professional help. Keep in mind that any wrong connection could harm your device severely!
- Power Adapter Connection/ Ethernet Connection: The last connection that you will need to get your Raspberry device running is the Power Adapter and the Ethernet cable to the Pi device ports. This should not be so very difficult as there are preferred adapter ports made on the Raspberry Pi device for the same purposes.
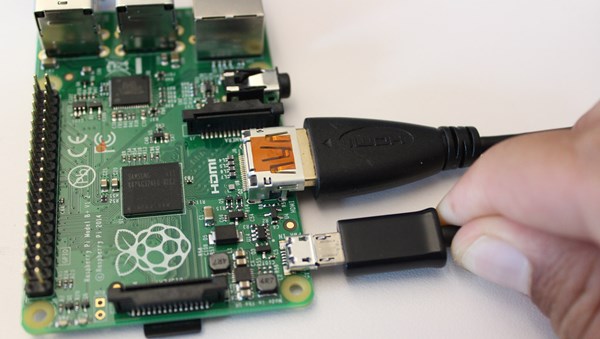
- SD card: Get up the MicroSD card of 16 GB capacity with as much speed as you could afford. Remember that you don’t need any specific type of SD card but the common SD card from the market but the only thing that you have to keep in mind is that slower will be the speed of the SD card hence slower will be the Raspberry boot and perform.
- Put in NOOBS: You have to put in the Operating system NOOBS in the SD card from your computer where you have pre-downloaded these all and after that just install the Sd in the specific card holder made on the Raspberry Pi.
- At the end of all the above settings and installments, just power on the Power Adapter and also the Keyboard device if it is wireless and that all. Raspberry Pi will now run up the specific version of OS that you have installed on your MicroSD card. This is all what you probably would need to know so as to get up familiar with the newest bought Raspberry Pi 3. After some time usage with the Raspberry Pi 3 you would get up familiar with all its functions and settings but if you haven’t used it till now then you may need some help and I’m sure that all that what we have written above in the article will help you in that case.